10 Essential Tips for Using Self Tapping Concrete Screws?
Self Tapping Concrete Screws have revolutionized the construction and design industries. According to the "2022 Global Fastener Market Report," the demand for specialized fasteners like these has grown by over 15% annually. This growth reflects their increasing importance in ensuring structural integrity and facilitating efficient installations.
Dr. Emily Carter, a leading expert in fastener technology, once stated, "Self tapping concrete screws are essential for modern construction projects, blending ease of use with unmatched strength." These screws allow for quick and secure fastening in concrete without the need for pre-drilling. As construction techniques evolve, these fasteners are becoming indispensable.
Using Self Tapping Concrete Screws effectively requires understanding their features and application techniques. Common missteps can hinder their performance and compromise project quality. Therefore, being informed and applying best practices is critical. This guide will delve into ten essential tips, aimed at enhancing your proficiency with these invaluable tools.
Understanding Self Tapping Concrete Screws and Their Applications
Self-tapping concrete screws are essential for many construction and renovation tasks. These screws are designed to create their own threads as they are driven into concrete. This feature allows for a secure hold without needing pre-drilling. They are particularly useful in various applications, such as securing fixtures, attaching framing, and anchoring panels. Selecting the right type will depend on the project requirements and the materials involved.
When using self-tapping concrete screws, precision is key. Measure and mark locations carefully to ensure accuracy. A small miscalculation can lead to weak connections. Choosing the appropriate drill bit size is crucial, as it determines how easily screws will go in. Some users overlook this detail and face difficulties during installation.
Apply consistent pressure while driving the screws. This helps achieve better thread engagement. Using a high-quality power drill will also improve results. If the screws seem difficult to turn, reevaluate your technique. Rushing through the process often leads to mistakes that could compromise the integrity of the project. Pay attention to how the screws behave in the material—this feedback is vital for ensuring a successful installation.
Choosing the Right Type and Size of Self Tapping Concrete Screws
When choosing self-tapping concrete screws, size and type are crucial. The diameter of the screw should match the material thickness you’re working with. For thin materials, a smaller screw will suffice. Thick concrete requires larger, sturdier options. A wrong size can lead to ineffective anchoring.
Consider the head style of the screws as well. Flat heads work well for flush applications, while hex heads are better for increased torque during installation. You might struggle if you pick the wrong type. Always check the manufacturer's specifications for load ratings.
Environmental factors also influence your choice. If you're working outdoors, consider corrosion-resistant screws. They’ll last longer and perform better in harsh conditions. It's essential to reflect on your application needs carefully. Choosing the right size and type may require some trials, but it ensures a secure and lasting hold.
Preparing the Concrete Surface for Optimal Screw Performance
Preparing the concrete surface is crucial for optimal performance when using self-tapping concrete screws. A clean surface allows for better penetration and grip. Begin by removing any dust, dirt, or debris from the area. Use a stiff brush or a vacuum to ensure a spotless workspace. Incomplete cleaning could lead to screw failure over time.
Consider the moisture levels in the concrete. Wet or damp surfaces may inhibit effective screw installation. Before attaching anything, allow the concrete to dry thoroughly. If you notice cracks or holes, fill them with appropriate material. This will provide a stable foundation for your screws.
Always inspect the tools you'll use. A worn-out drill bit can complicate the process. Check for signs of wear and replace when necessary. Rushing through preparation often leads to mistakes. Taking the time to prepare can make installation smoother and help avoid costly errors in the future. Your attention to detail now will pay off later.
Proper Installation Techniques for Self Tapping Concrete Screws
Proper installation techniques for self-tapping concrete screws can significantly impact your project’s quality. Start by selecting the correct drill bit size for the screw. It should create a pilot hole just large enough to avoid damaging the screw. Mismatched sizes could lead to stripping or breaking.
When drilling, maintain a steady speed. Too much pressure can cause the bit to overheat. It's essential to ensure that the bit is consistently perpendicular to the surface. Uneven drilling can weaken the concrete around the hole. For best results, clean the hole of dust and debris before inserting the screw. This enhances the screw's grip and overall stability.
As you drive the screw in, listen for changes in sound. It indicates that the screw is engaging properly with the concrete. If you feel excessive resistance, stop and double-check your installation. It’s crucial to avoid damaging the screw or the surrounding material. Remember that practice makes perfect. Don't be discouraged by early mistakes; improvements come with experience.
Common Mistakes to Avoid When Using Self Tapping Concrete Screws
Using self-tapping concrete screws can streamline your projects, but common mistakes can hinder their effectiveness. One frequent error is not drilling the correct pilot hole. Proper hole size ensures that the screws can penetrate the concrete effectively. If the hole is too small, you risk damaging the screw. Conversely, a hole that's too large can lead to an inadequate grip, causing instability.
Another mistake involves the improper use of torque. Many users tight the screws excessively, which can lead to screw breakage or even cracks in the concrete. It’s essential to apply the right amount of torque. Knowing when to stop is critical. Beginners often overlook this detail, resulting in frustration and wasted materials.
Furthermore, failing to choose the right screw length is a common oversight. A screw that’s too short won't provide the needed hold, while an overly long screw can cause issues during installation. The thickness of the material should inform your choice. Evaluating the depth carefully will ensure that your project stands strong for the long term. Remember, attention to these details can elevate the quality of your work.
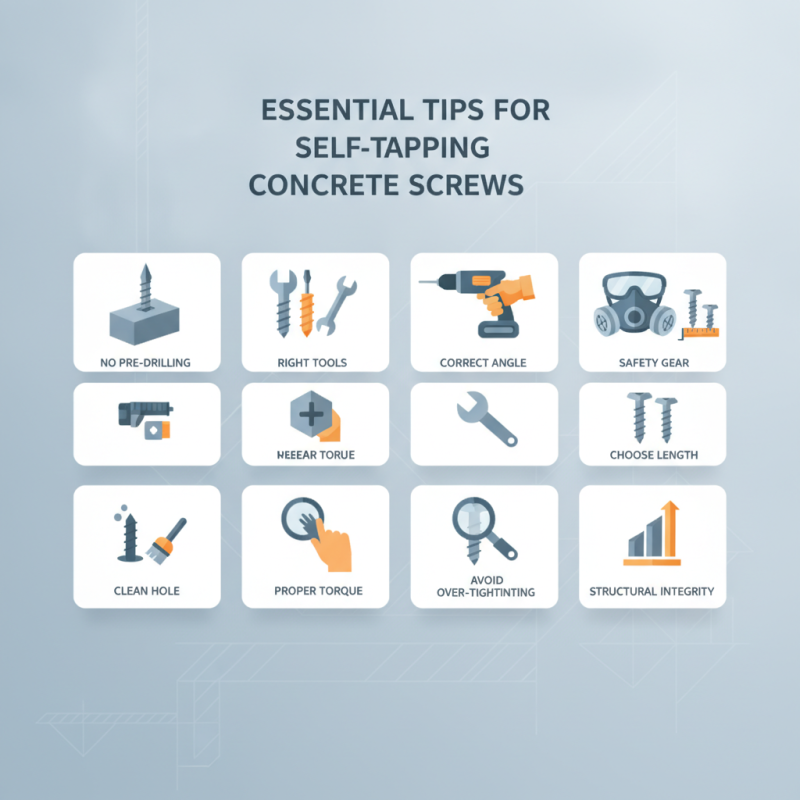
10 Essential Tips for Using Self Tapping Concrete Screws
| Tip No. | Tip | Common Mistakes |
| 1 | Select the Right Screw Length | Using screws that are too short for the material thickness |
| 2 | Drill Proper Pilot Holes | Not drilling pilot holes can lead to screw breakage |
| 3 | Use the Correct Drill Bit | Using non-masonry bits can damage screws |
| 4 | Check for Reinforcement Bars | Not checking for rebar can prevent screw installation |
| 5 | Install at the Right Angle | Installing screws at an angle can weaken the hold |
| 6 | Use Appropriate Torque Settings | Over-tightening can strip the screw head |
| 7 | Consider Weather Resistance | Using non-weatherproof screws outdoors |
| 8 | Use a Fastening Tool | Using hand tools can lead to inconsistent tension |
| 9 | Clean the Hole Before Insertion | Dust and debris in the hole can weaken the hold |
| 10 | Follow Manufacturer Instructions | Ignoring guidelines can result in improper use |